I created this How to Film a Conference for Beginners guide because every event videographer has to start somewhere. No one begins as a professional. I remember the first conference I filmed for my Orlando video production company at the Hyatt Regency Orlando International Airport. I was nervous because I kept overthinking. I knew I couldn’t afford mistakes—at a live event, video and audio problems can’t easily be fixed later. Over my years of providing conference video production services in Orlando, I’ve learned how to prepare and what mistakes to avoid. This blog will help beginners who want to produce high-quality recordings.
Know Exactly What You’re Hired to Do
Solo vs. Camera Crew Shooting
Being a solo videographer for a conference works if you’re covering sessions in one room or only filming B-roll.
Bring in a camera crew when:
- Multiple rooms run simultaneous sessions.
- You need to divide workload—sessions, B-roll, audio, or other tasks.
If you’re only filming B-roll, room count doesn’t matter since you’re not responsible for full coverage.
Business Realities
Contracts
Every job needs a signed contract. Standard terms include:
50% upfront to reserve the date
Balance due on production day (raw footage) or on delivery (edited video)
Retainers are nonrefundable once the date is booked
Retainers also protect you if the project is delayed or canceled
A contract should also list:
Event details and times
Crew involved
Deliverables
Editing timelines (30 days is fair)
Hard drive delivery terms (bill for cost/shipping or have the client provide one)
Templates are fine to start with, but have them reviewed by a lawyer. A contract protects both you and the client.
Preparation Before the Event
After you’re booked for the conference, get as many details as possible from the client. Get a copy of the conference schedule, ask about parking, and confirm your point of contact on-site. If recording sessions, get introduced to the AV team early. They’ll be the ones you’ll connect with about audio.
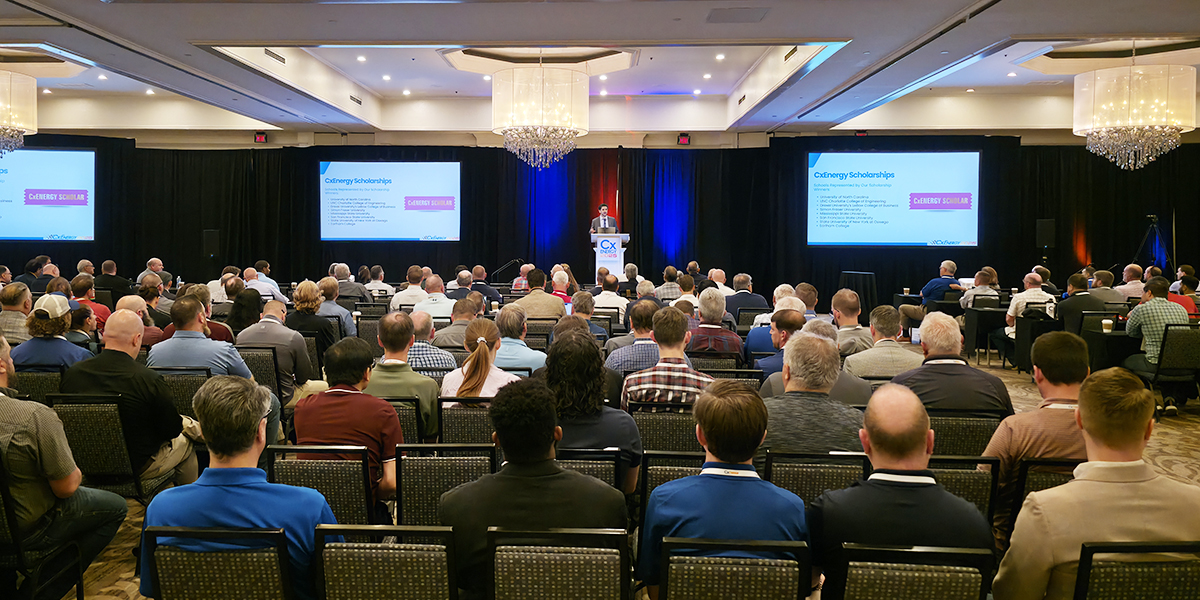
Where should you set up cameras in a conference room?
Set up at the back in large ballrooms, ideally on a riser, or in the back/side/middle of smaller rooms depending on seating.
Understanding the Room
Before the event, ask the organizers for the room name. Look it up on the venue’s website, or scout it if possible. This gives you a rough idea of where you’ll be and what camera equipment to bring. A large ballroom usually means you’ll be in the back, which calls for a camera with a lens that has longer focal lengths. If it’s in a large ballroom more likely the client will mention having a shooting riser provided. If not, ask. They can always order one from the AV team. Smaller breakout rooms let you set up in the back, side, or middle depending on seating.
Cameras and Essential Gear
You need a camera that records continuously for long sessions. Conference sessions often run 30 minutes to two hours without breaks. If you don’t own one, consider renting cameras and lenses. A heavy-duty video tripod is non-negotiable because lightweight tripods tip or shake too easily.
Gear Checklist
Camera that records long sessions (DSLR, mirrorless, cinema, or camcorder)
Telephoto/zoom lens for interchangeable-lens cameras (e.g., 70–200mm)
Heavy-duty video tripod
Dummy batteries or external power
Extension cords, power strips, gaffer tape
Audio recorder (Zoom F3, Zoom H4essential, or similar)
XLR cables
SD cards
Power Management
How do you record clear audio at a conference?
The best way is to connect your recorder to the room’s soundboard. If that’s not possible, use a wireless lav or handheld mic connected to your recorder or camera. Devices like the Zoom F3 or H4essential are reliable because they record in 32-bit float. Depending on budget, you could have someone monitor audio. I usually don’t. Instead, I run two recorders at the soundboard, or I’ll set one at the soundboard and another at the PA speaker, podium, or table for backup. I check them during each session to confirm they’re recording and sounding good. I also hit record about five minutes early since speakers often start ahead of schedule. Always carry XLR cables.
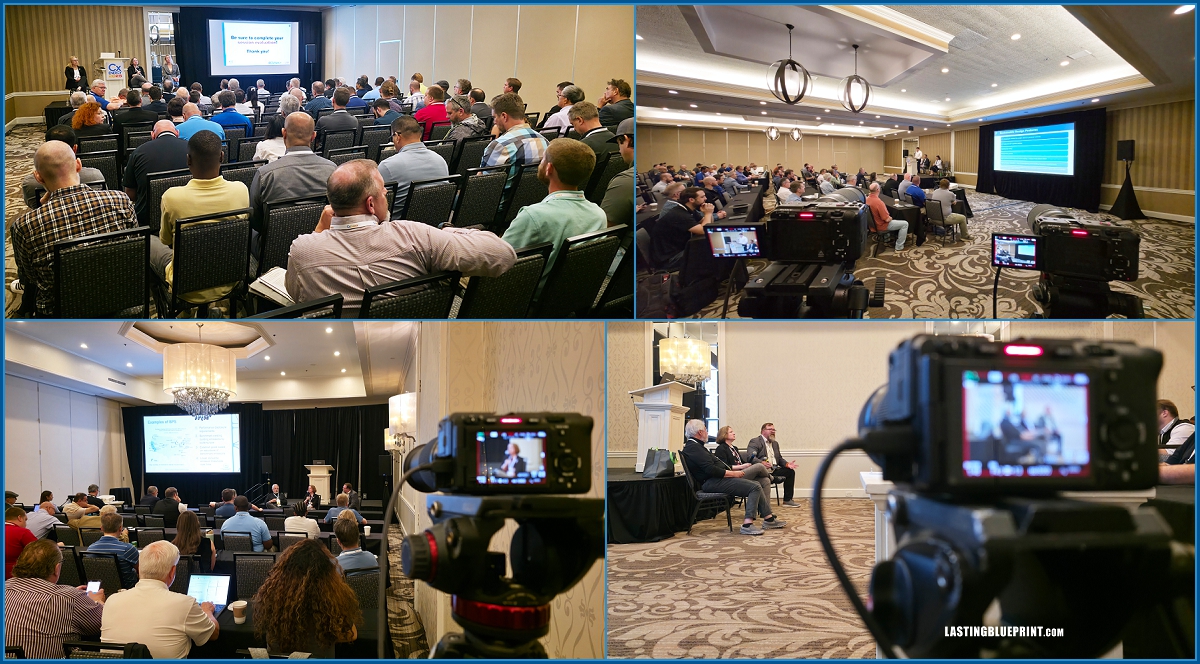
Conference Camera Placement and Coverage
Placement depends on the room. Large ballrooms usually mean you’ll be in the back. Smaller rooms may allow aisle or side setups. I like to arrive about an hour early. It’s enough time to set up, check the audio, and walk the room without feeling rushed.
Two cameras are better if possible—one wide and one medium. The wide shot is your safety net if the speaker drifts out of frame. Some speakers stay still; others move. I always ask before the session how they plan to present.
Recording Slides and Screens
If sessions include PowerPoints, dedicate a camera to film the screen. It doesn’t need to be high-end—a GoPro or even a phone works. Just match your frame rate. Having slides on video makes syncing easier in post.
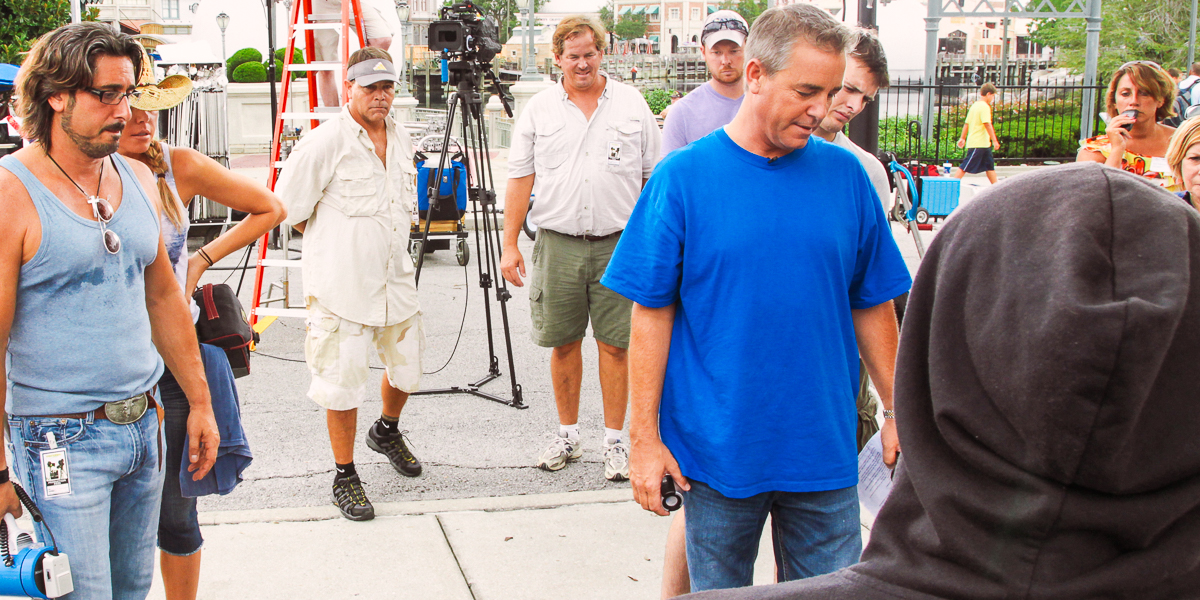
Capturing B-roll
If the client wants a highlight or promo video, B-roll is essential. For B-roll, set up a camera on a gimbal or monopod. Film the speaker, the audience, and wide views of the room. Use a telephoto when you need reactions without being noticed.
Recording, Backups, and Delivery
Post-Production and Delivery
Conclusion
Filming a conference comes down to preparation and clear communication. Know what the client expects, plan your gear and crew, and protect yourself with backups. Once the basics are handled, the rest is about staying focused on the conference itself. This How to Film a Conference for Beginners guide should give you a solid start. If you’re learning the fundamentals and want more beginner-friendly guidance, visit the full set of resources for videographers.